 Photo by
 Many developer’s workflows consist of jumping from terminal to IDE. From the command line, we can execute git commands, Jekyll builds, and npm installs. Some of us find the command line to be a more natural preference, while others prefer a graphical user interface. While the command line is a powerful tool, an integrated development environment (IDE) is where many of us do the majority of our .NET development work. In this post, we’ll see how we can setup Jetbrains Rider to work seamlessly with the workflow described above.
Install the Toolbox App
Jetbrains recommends we install JetBrains Toolbox App. The app is the best way to manage all my JetBrains products, from installing, updating, and removing apps. As the JetBrains promotional site says:
Manage your tools the easy way. JetBrains
The toolbox app runs in the background and is expandable through our operating systems menu bar. The icon looks like a box with the iconic JetBrains’ dash on the darkside. In the image below it is second from the left-hand side.

We can also install the JetBrains Toolbox Chrome extension, which integrates with GitHub, GitLab, and Bitbucket. The extension allows us to clone directly from the repository pages of any project we are viewing.
Set Up the Script
Our next step is to set up the command line scripts. Using the Toolbox App, we can do this easily. When we expand our toolbox app, we can click the hexagonal shape next to any installed product. In our case, we will click JetBrains Rider. Once we open the settings, we need to follow these steps.
- Find the Shell Script section and expand it.
- Click the enable link.
- On the next screen, find the Shell Scripts section.
- Enable the generate shell scripts toggle.
- Go back to see the command-line name of the script. It will likely be
rider, but we can change it to suit our needs.
Note: We need to be sure the installation of the script occurred in directory recognized in our PATH.
At this point, we should be able to run Rider directly from the command line.
Opening a Project or File
From any .NET solution directory, we can now run the following command.
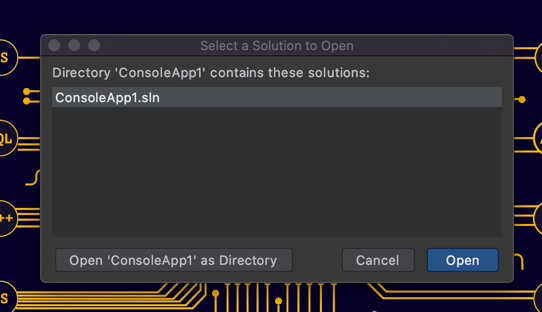
> rider .
Rider is kind enough to find the sln or csproj located in the directory and ask us if we intended to open it.
We can also open a single file using the rider command line script.
> rider Program.cs
Diffing Files
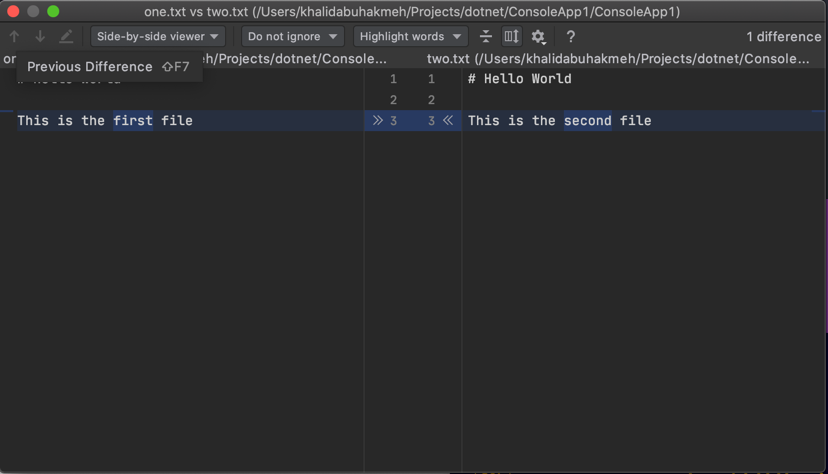
Rider comes with a litany of source control tools, with one of those tools allowing us to differentiate changes between two files. We can type the following command to diff two files.
> rider one.txt two.txt
Merge Files
In addition to diffing two files, we can merge two files into each other. The syntax is as follows.
> rider merge <path1> <path2> [<base>] <output>
Let us merge the same files from above.
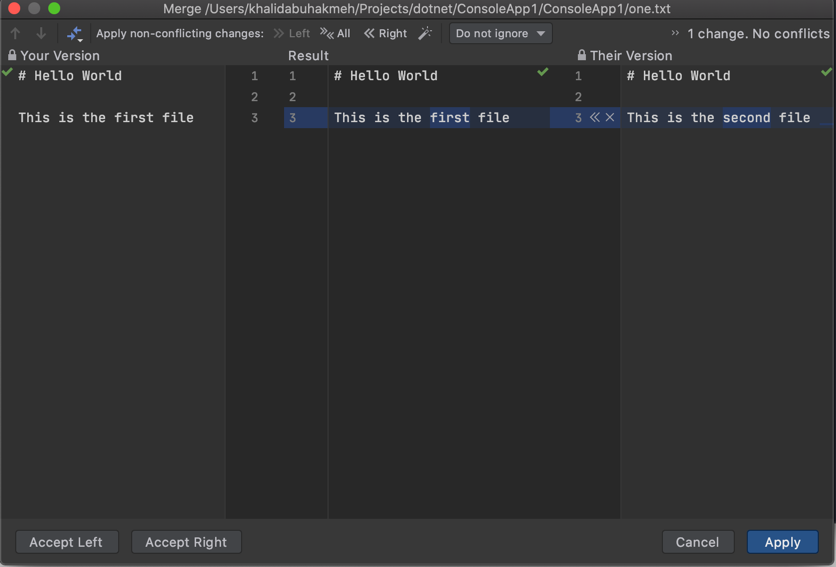
> rider merge ./one.txt ./two.txt ./one.txt ./one.txt
We want to perform a three-way merge, giving Rider a hint as to the base revision. In our case, we want one.txt to be the common origin file. Let’s walk through each parameter.
- The first instance of
one.txtis the first file. - The
two.txtfile is the comparison file we want to merge. - The second instance of
one.txtis our base origin file from which we derived bothone.txtandtwo.txt. In our case,two.txtwas copied fromone.txt. - the third instance of
one.txtis where we want to save the results of our merge.
When we execute the command, we see the following Rider merge window.
Format Files
JetBrains products are well known for their formatting capabilities. Through the command line script, we can format a file, formats, or directory using the format command. All files will be formatted using the default code style settings found in Rider.
First, we will format two specific files.
> rider format ~/Data/src/hello.html ~/Data/src/world.html
We can also recursively format all files in a directory, including subdirectories.
> rider format -r ~/Data/src
Finally, we can format based on a particular set of masks. In this example, we will format all of our html files found in our ~/Data/src directory.
> rider format -m *.html ~/Data/src
While a neat command line feature, most of my formatting occurs in the IDE so that I can visibly see what is happening.
Git Configuration For Rider
If we want, we can also setup Rider as our default diff and merge tools for git. Since we installed the rider script in our PATH, we can easily update our global git configuration.
# Diff with JetBrains Rider
[diff]
    tool = rider
[difftool]
    prompt = false
[difftool "rider"]
    cmd = rider diff "$LOCAL" "$REMOTE"

# Merge with JetBrains Rider
[merge]
    tool = rider
[mergetool]
    prompt = false
[mergetool "rider"]
    cmd = rider merge $LOCAL $REMOTE $BASE $MERGED
    trustExitCode = true
Conclusion
There we have it! While JetBrains Rider is a powerful IDE and we should rely on its visual features, there is no denying that JetBrains has gone out of its way to support multiple workflows. Anyone who’s a command-line aficionado should enjoy these features. My personal favorite is opening projects and files from the terminal. I hope you found this post insightful, and let me know if you think Rider should have more command-line features.
To learn more about what Rider can do from the command line, check out the official documentation.


