 Photo by
 I have a dirty little secret to admit, and I hope you don’t think less of me for saying so. I have never localized any application that I’ve ever built. Phew, I feel better getting that off my chest. I like to think it’s something we’ve all done.
We start our projects with the best intentions of helping as many users as possible, only to hardcode our labels, messages, and documentation. It begins innocently enough, “I’ll just hardcode it for now and come back to it later.” We never come back to “it”. Now we’ve limited the number of potential users we can help because we only target our native tongue.
In this post, we’ll see how straightforward it is to add localization to any .NET application. Our code will be more readable, appeal to a broader userbase, and we’ll be better developers for taking the extra step of localization.
What Is Localization
In general, localization is the process in which we adapt our applications to a specific region or market place. The goal of localization is to provide a tailored experience that intends to give users the most comfortable experience possible.
In the United States, it may be more about targeting particular demographic markets like English, Spanish, or Chinese native speakers. If users consume our apps at an international level, we may try to understand where our audience comes from and localize for the largest demographics.
Localization not only focuses on text but may also include graphics, layout, currency, date/phone/address formats, and local regulations and legal requirements.
.NET Resources
.NET has had the concept of resources for as long as I can remember. The Microsoft documentation has a succinct description of what classifies as a resource.
A resource is any nonexecutable data that is logically deployed with an app. –Microsoft
In this post, we will be using resource files, which are recognized by the file extension of .resx. The advantage of using resx files, is we can store more than just strings. We can store binary data, which can include images, audio, and other assets. The resx file is in XML format with specific attributes to identify additional metadata.
To follow along, clone the WorldTraveler Project on GitHub.
Hello World Of Localization
We’ll start by creating a console application, either via the command line or our favorite IDE. In this post, I’ll be using JetBrains Rider, but feel free to use any development environment you would like.
The next step is we’ll be creating some resx files file the following cultures: English, French, and Spanish.
Here are our files in Rider’s solution explorer.

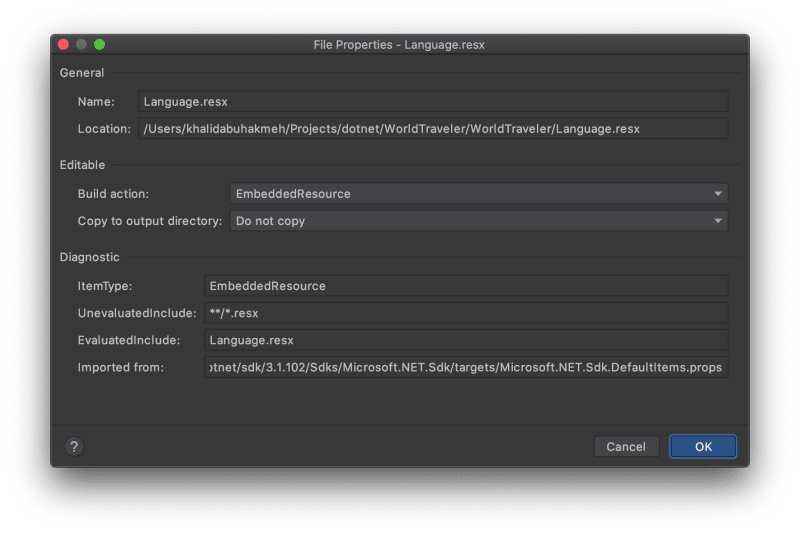
All three resx files will have a companion file of *.Designer.cs which will include our generated access mechanisms for our resources. Only our top-level Language.resx file will have any code associated with it. Before continuing, we need to mark each resx file as an embedded resource.
The next step is to generate our Language class. This class will allow us to set the culture of the language of our application and have easier access to our resources. We do this in Rider, by right-clicking our resx file and selecting Generate resources.

In our particular project, I have taken the liberty of adding two new resource strings of HelloWorld and Woot.
The Resx XML
To understand how resources are stored, let us peek into the XML file. In our case, let us look at our first resource of HelloWorld.
In our different language files, we can also replace this particular value.
The Generated Access Class
Resx files also generate access classes so that we can more naturally access our resources. In our case, we have a Language class created using the filename of our parent resx file. Let’s look at the exciting parts of this class.
ResourceManager
The ResourceManager is the manager of our resources, reading our XML files into memory, and storing our values.
Culture
The Culture property allows us to set the CultureInfo of our Language class. As we’ll see later in the post, we can affect what resources we access by changing this property.
Resource Properties
The resource generator will be helpful and generate named properties for each of our resource values. In this post, we can see a created string property for HelloWorld and Woot.
Putting Our Resx Files To Work
In our project, which you can get from this GitHub Repository, you will see the usage of our resources.
We can see the output for each localized culture.
Here is the result in my Rider’s console output.

Conclusion
Localization may seem scary at first, but the .NET Framework has thought about and solved this issue for a long time now. There are definite advantages to localizing our applications from a broader userbase and a more efficient codebase. Using resx files is one of the better options as it allows us to store more than strings. I hope you give it a try and let me know what you think. Thank you for reading, and please leave a comment.


